When you think about cooking ramen from scratch, it probably sounds like a huge undertaking—something best left to professional chefs with fancy kitchen setups. And while that’s true for certain types like Tonkotsu Ramen, which requires boiling pork bones for hours to get that rich, creamy broth, other types are actually pretty doable at home!
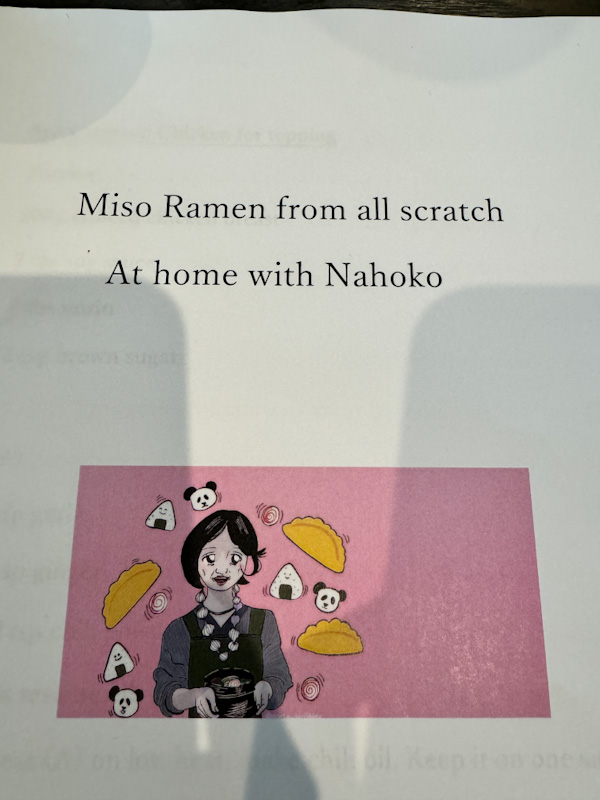
That’s exactly what we learned in our home ramen cooking class with Sensei Nahoko—how to make a simple yet delicious miso ramen using just a few basic ingredients and tools.
Step 1: Making Fresh Ramen Noodles
If you’ve ever thought fresh ramen noodles were impossible to make at home, think again! Turns out, you only need three simple ingredients:
- All-purpose flour
- Water
- An alkaline agent (Traditionally, kansui, but we used baking soda instead)
Sensei Nahoko swapped out kansui for baking soda because it’s safer to handle (kansui is highly alkaline and can irritate the skin). Plus, baking soda does the job just fine, and most people already have it in their kitchen.
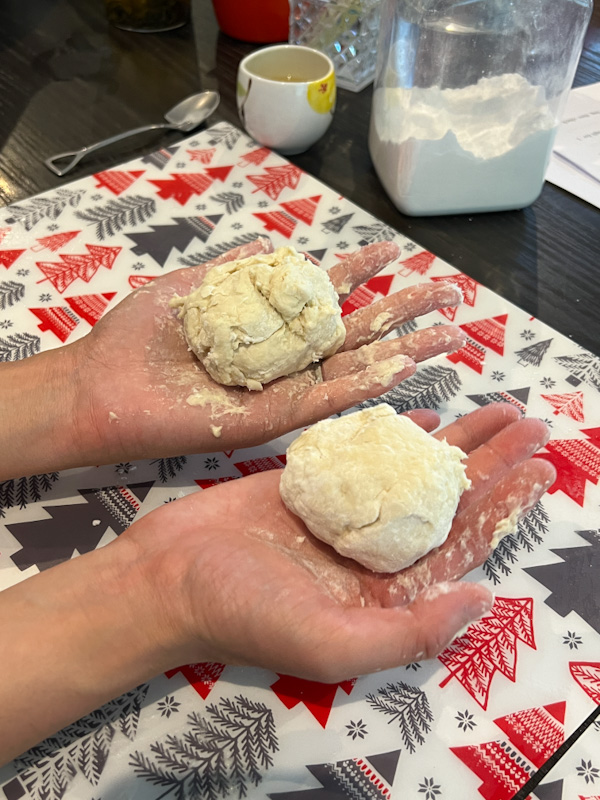
Once we mixed everything together, we learned a fun trick for kneading the dough—instead of the usual pressing and folding, we put it into a food-safe plastic bag and stepped on it! Sounds strange, but it helps evenly knead the dough and develop that all-important elasticity.
After flattening the dough, we let it rest while moving on to the broth. Pro tip: Don’t cut the noodles until you’re ready to cook them, or they might stick together!
Step 2: Cooking the Soup
One of the best things about homemade ramen broth is that you can tweak it based on what’s available. Sensei Nahoko’s broth recipe changes depending on what she finds at the market that day. For our class, she used:
- Chicken necks and backbones (for a rich, savory base)
- Ginger and Japanese spring onions (to add freshness and depth)
- Mushrooms and dried dates (for extra umami and a subtle sweetness)
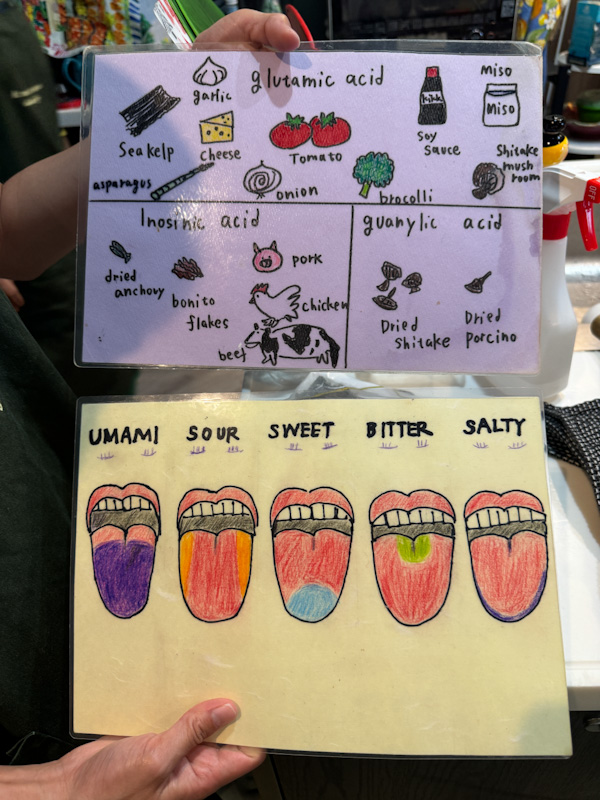
She explained that a basic broth only requires chicken bones, spring onions, and ginger. But by adding mushrooms and dried dates, you get a deeper, more complex flavor.
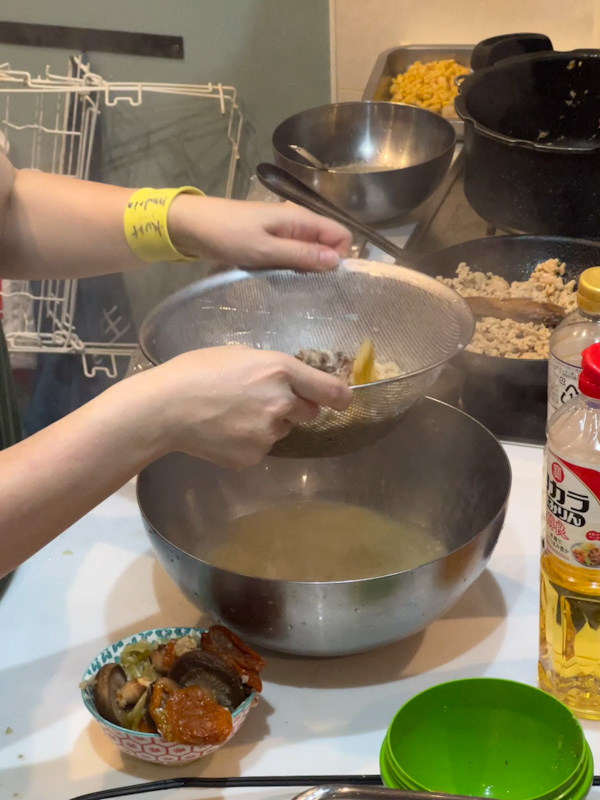
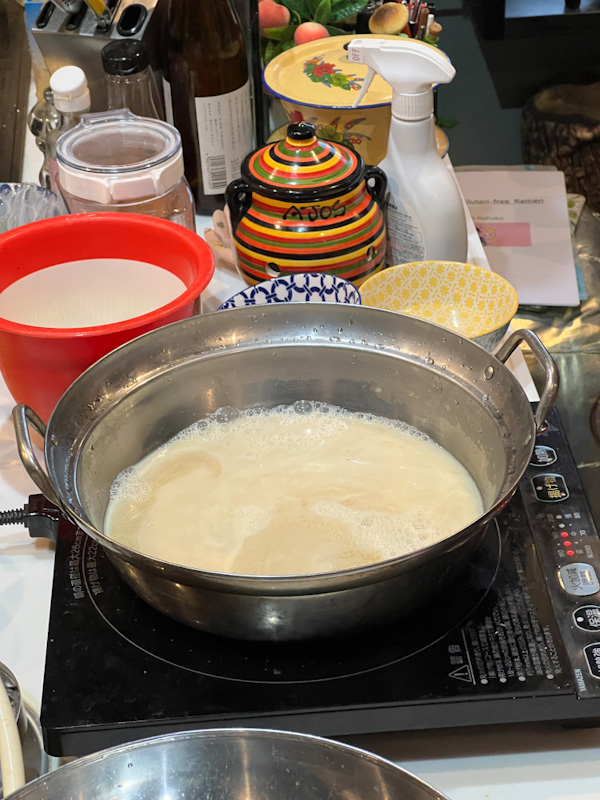
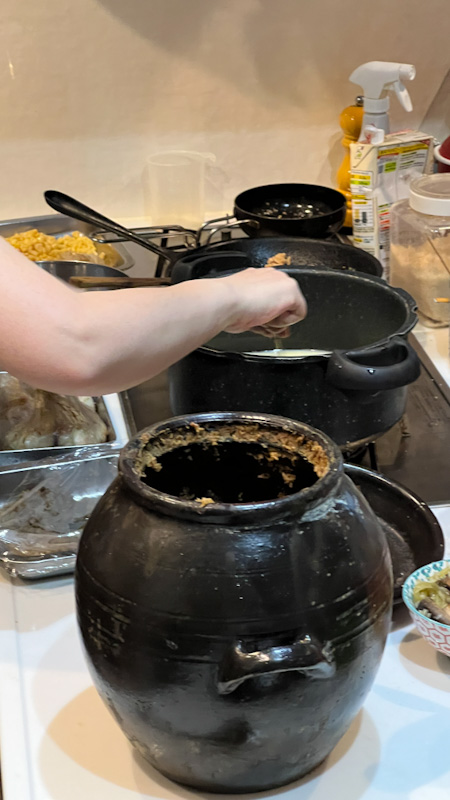
Before simmering the broth, we blanched the chicken bones to remove impurities—this step is crucial if you want a clear and clean-tasting broth. Once everything was in the pot, we brought it to a boil, then let it simmer while we worked on the toppings. Every now and then, we skimmed off any scum and gently pressed the ingredients to extract more flavor.
Shortcut: If you’re short on time, a pressure cooker can speed up the process significantly!
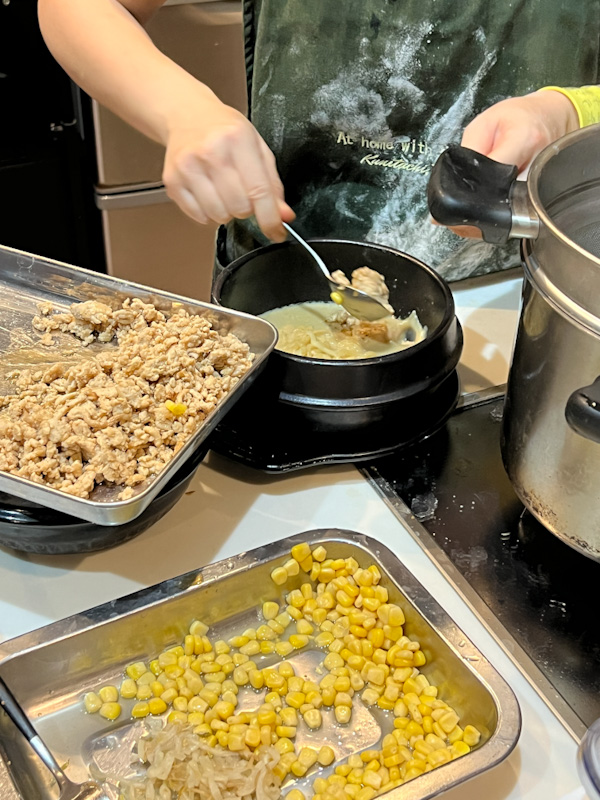
Step 3: Prepping the Toppings
While our broth was simmering and our noodles were resting, we got to work on the toppings. Sensei Nahoko kept it simple but delicious:
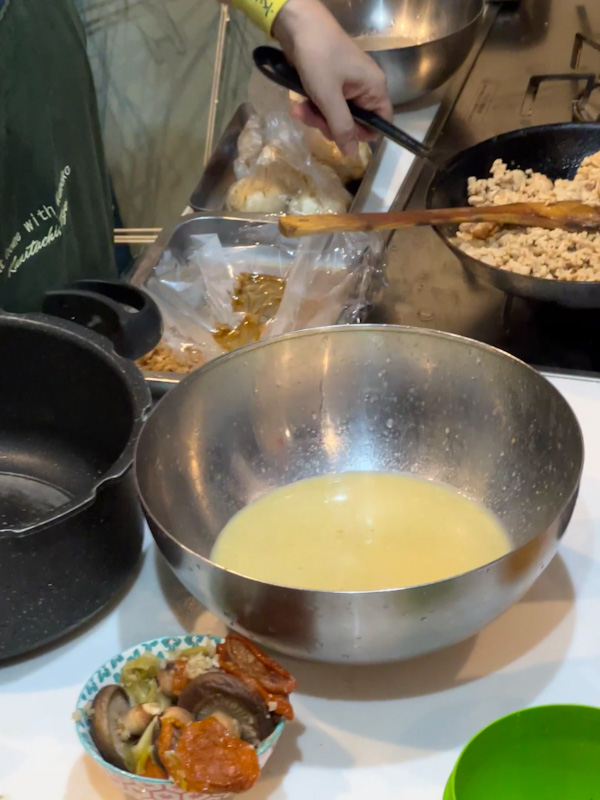
- Marinated eggs – These need to be made the day before so they can soak up the flavor. Just hard-boil some eggs, peel them, and let them sit overnight in a marinade of soy sauce, mirin, and sake.
- Sweet corn – Lightly buttered for extra flavor.
- Blanched bean sprouts – For crunch and freshness.
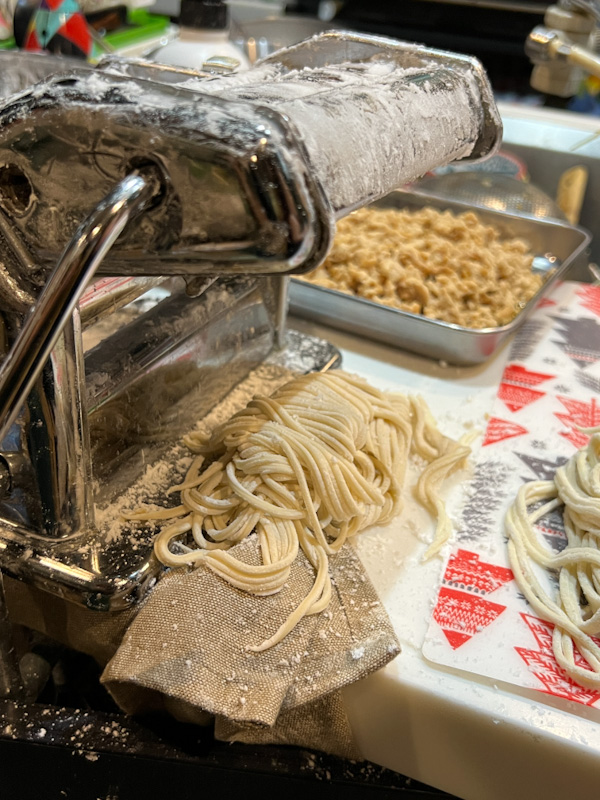
- Stir-fried minced chicken – A great way to use up the meat from the chicken carcass! We cooked it with soy sauce, mirin, sake, sugar, ginger, and a bit of oil.
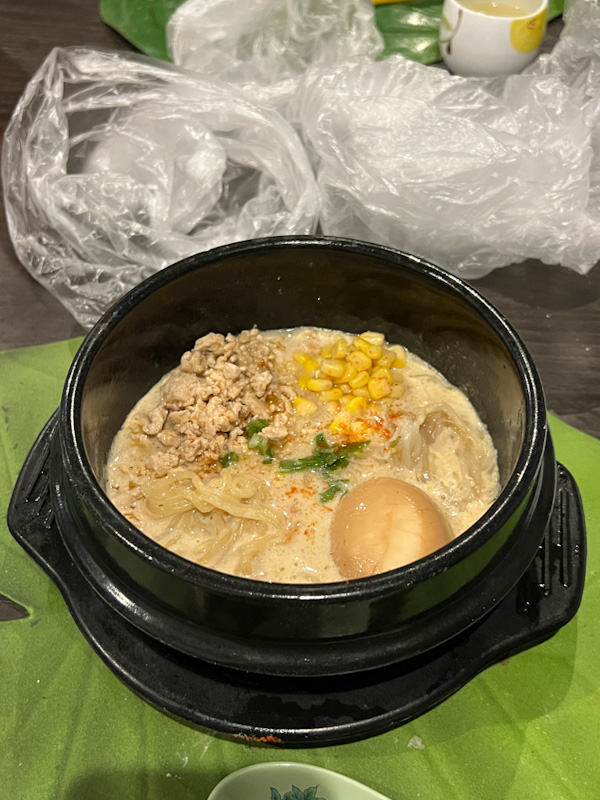
Step 4: Bringing It All Together
Now for the best part—assembling our ramen!
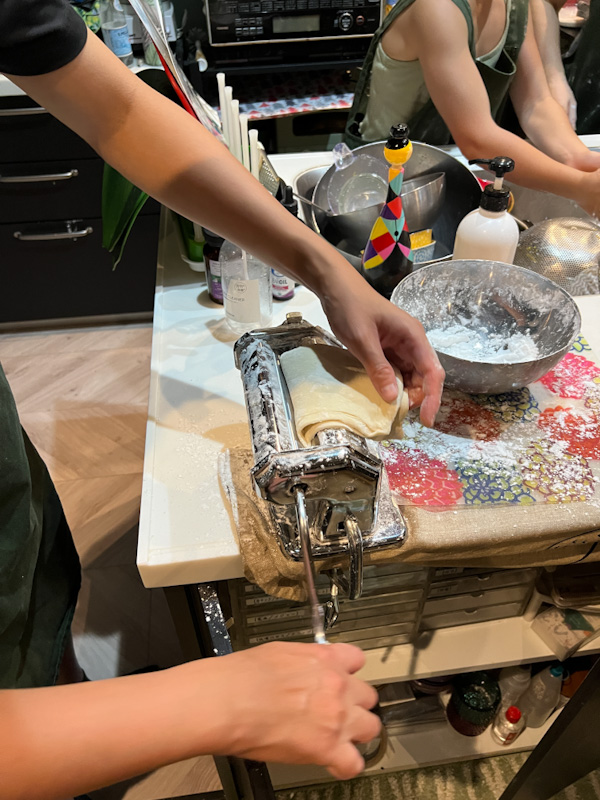
- Noodles: After resting, the dough was rolled out and cut using a pasta cutter. We dusted the strands generously with flour to keep them from sticking, then boiled them until just tender. A quick rinse in cold water helped retain their springy texture.
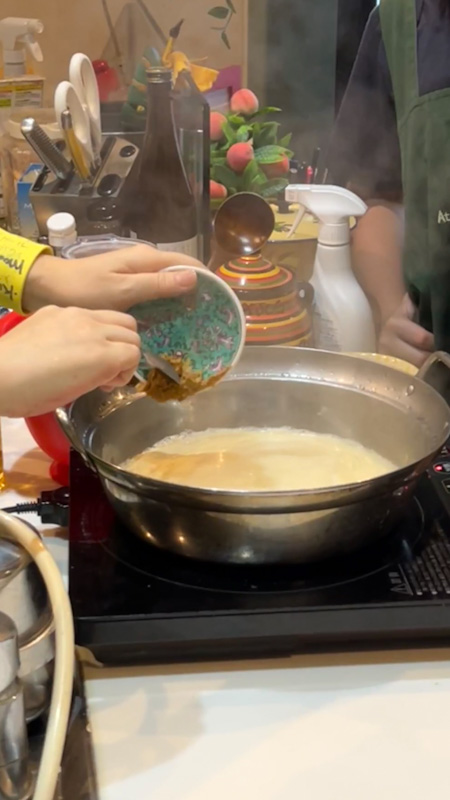
- Broth: Once the soup was done simmering, we strained out all the solids, leaving behind a rich and flavorful stock. Then came the surprising twist—we added soy milk! This gave the broth a creamy, almost tonkotsu-like texture, but without the heavy pork fat.
- Miso: The final touch was stirring in the miso paste. Sensei warned us not to add miso too early—if you boil it for too long, you’ll lose a lot of its delicate flavors and health benefits.
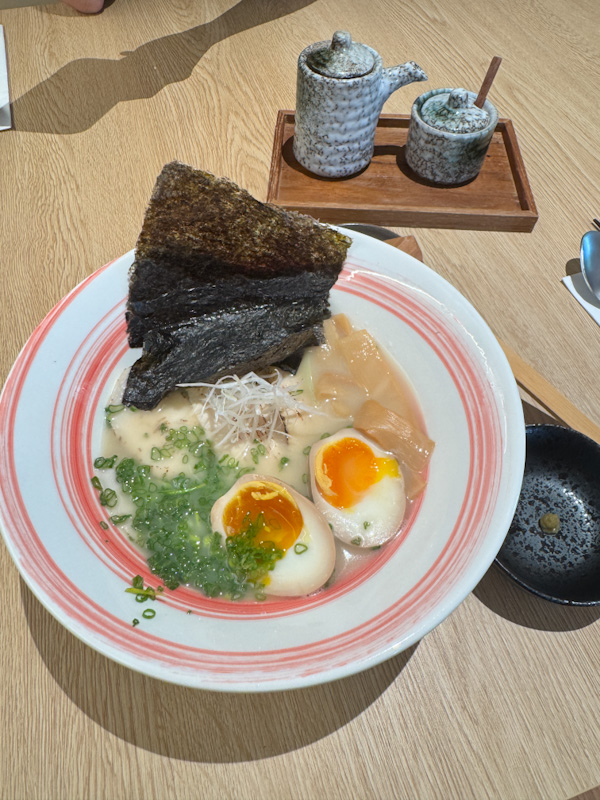
With the noodles in the bowl and the broth poured over them, we carefully arranged our toppings, and voilà—homemade miso ramen, ready to eat!
Final Thoughts
This class completely changed the way I think about ramen. What seemed like an impossible dish to make at home turned out to be totally doable with the right techniques and a little patience. Sure, it’s more effort than instant ramen, but the flavor, texture, and satisfaction of making it yourself? Totally worth it.
Would you try making ramen from scratch? Let me know in the comments! 🍜